The following tutorial demonstrates how to create an assignment for your course in Aportfolio.

Step 1
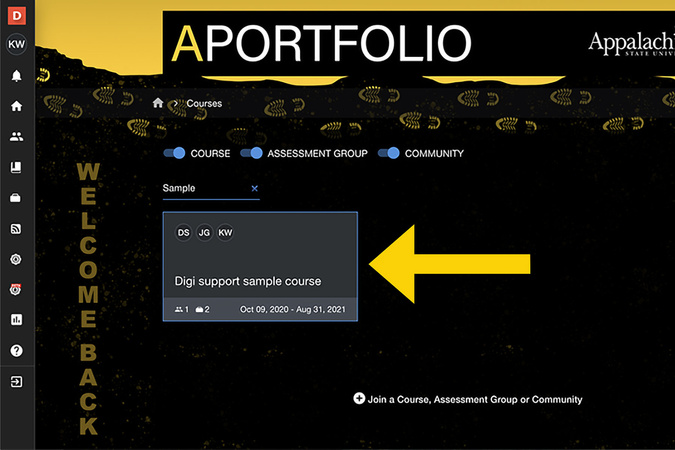
Once you have logged into Aportfolio, click on the Courses tab.
Step 2
Select the course in which you would like to create an assignment.
Step 3
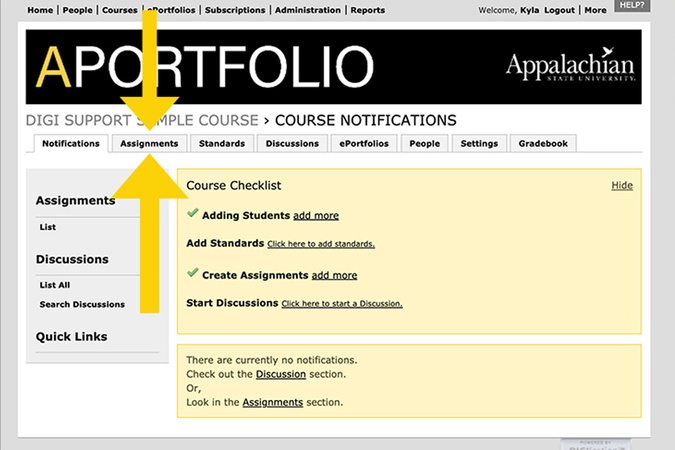
Within the course tabs, select Assignments.
Step 4
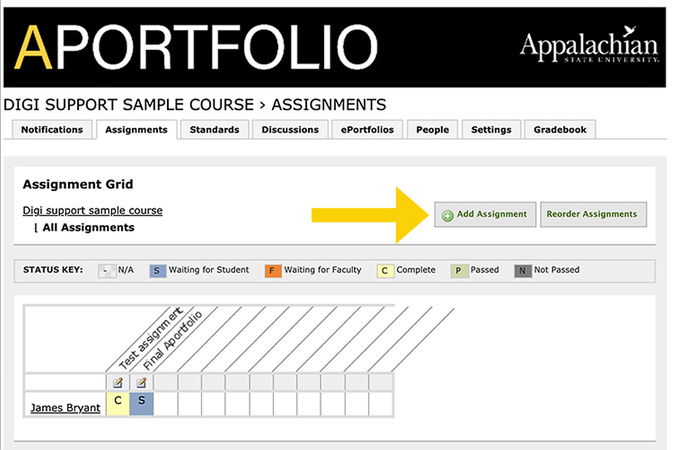
Here you can see all the assignments created in the course. To create a new assignment, click Add Assignment.
Step 5
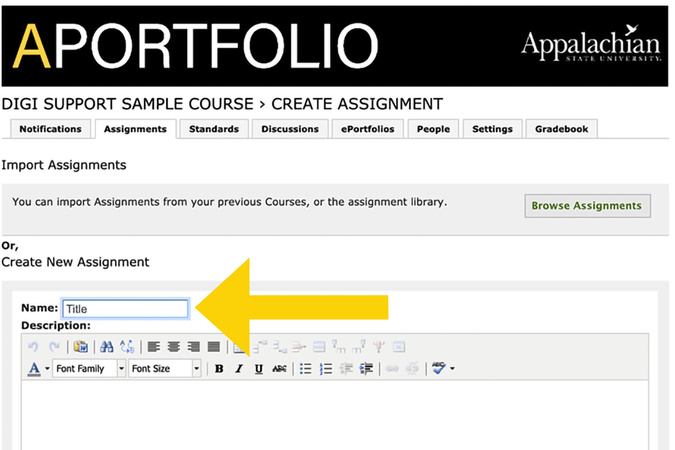
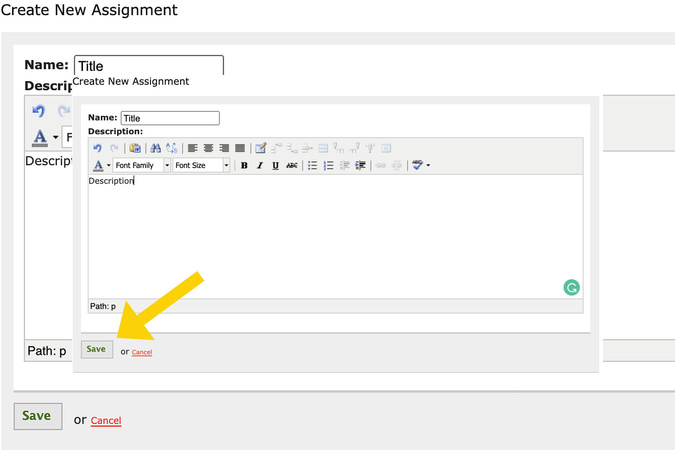
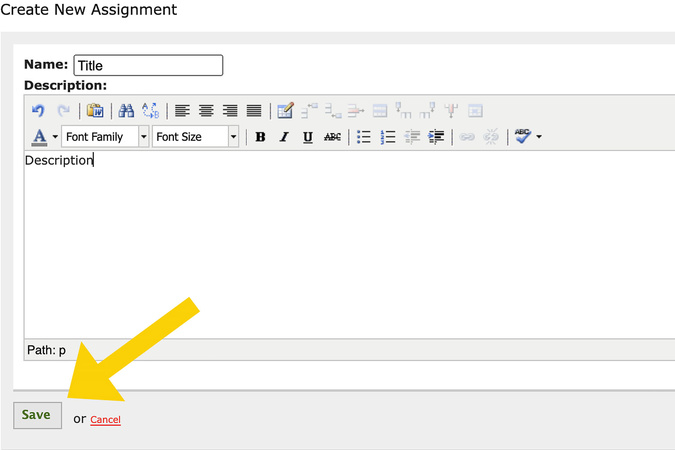
Start by giving your assignment a title.
NOTE: IT IS IMPORTANT TO ADD THE NAME OF YOUR COURSE IN THE ASSIGNMENT TITLE (example: RC 1000 Midterm). Students may have several courses with Aportfolio assignments, and your course title will ensure they do not submit to the wrong course!)
Step 6
Next, you can provide a description of the assignment.
Step 7
Once you are satisfied with the assignment title and description, click the green Save.
Step 8
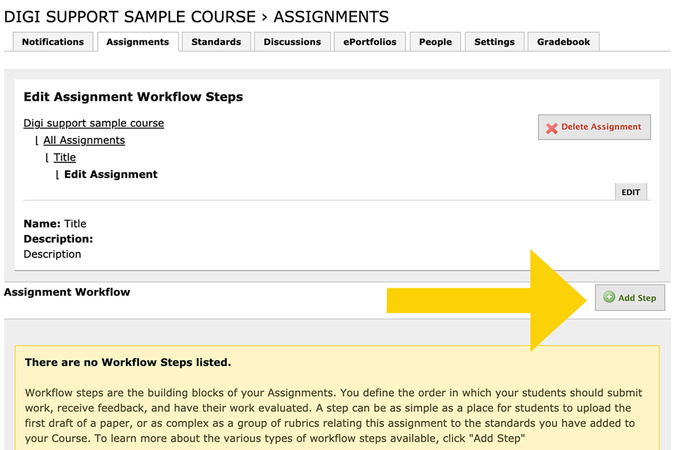
After you have created the assignment, you will need to be sure to add a step, by clicking the Add Step button.
Step 9
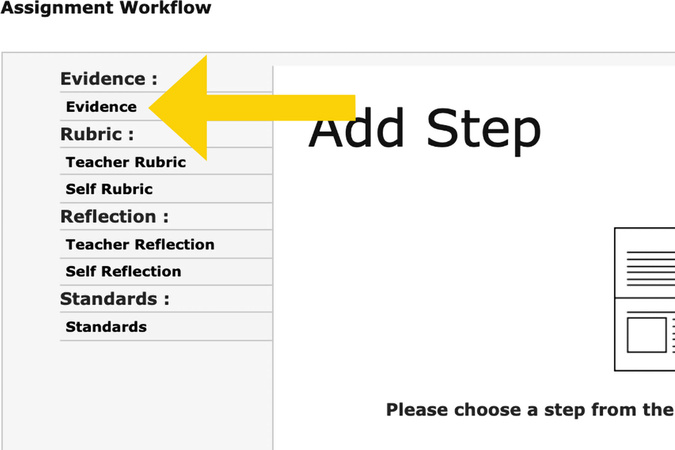
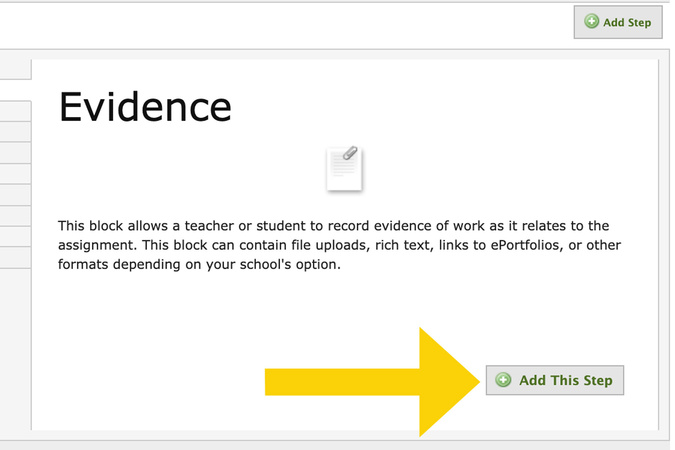
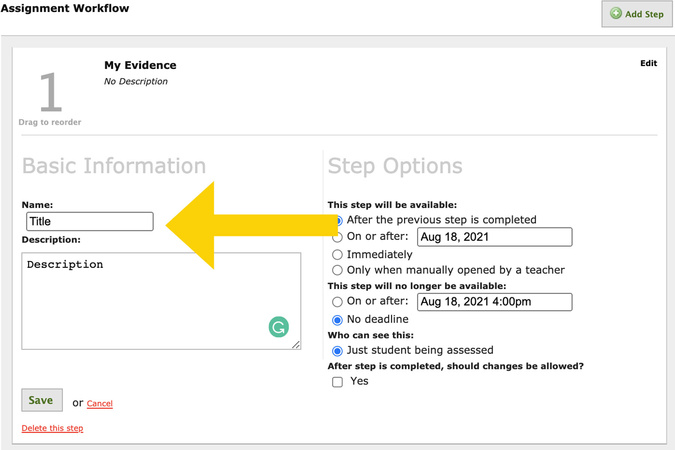
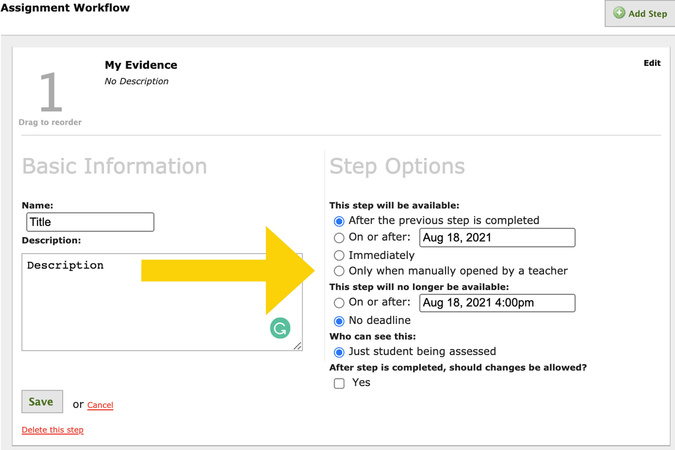
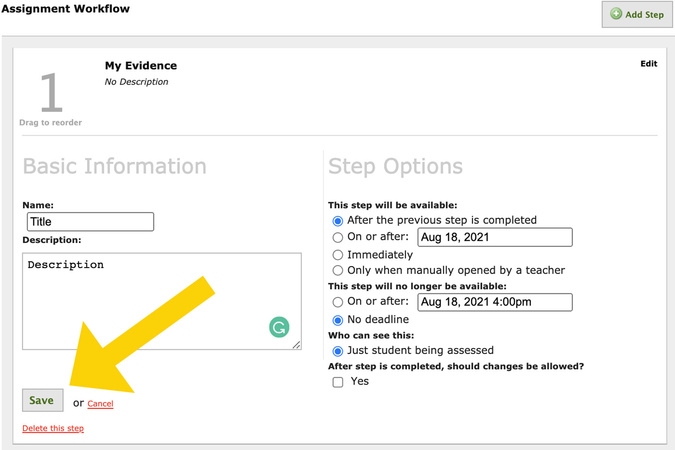
Select Evidence in the Add Step tabs. You must always add Evidence; it allows students to submit work for the assignment.
Step 10
Select Evidence in the Add Step tabs. You must always add Evidence; it allows students to submit work for the assignment.
Step 11
Select Evidence in the Add Step tabs. You must always add Evidence; it allows students to submit work for the assignment.
Step 12
Select Evidence in the Add Step tabs. You must always add Evidence; it allows students to submit work for the assignment.
Step 13
Select Evidence in the Add Step tabs. You must always add Evidence; it allows students to submit work for the assignment.
Digication Login
Creating a well designed portfolio is a must. Use Digication to log in to Aportfolio and manage your ePortfolio. Alumni may sign in at appstate.digication.com.