Aportfolio Templates
An Aportfolio template is a customized ePortfolio tailored to the content your students will develop in your class. Templates provide a consistent navigation menu that assists teachers in grading. Templates also help students focus on adding their content and providing their ePortfolio with a personalized design, without having to start from scratch.
Note: If you prefer, the Aportfolio team can assist you and create the course template. If you would like to proceed with creating your own course template, here are the step-by-step instructions.
Why Use an Aportfolio Template?
Templates are extremely useful for getting students jump-started on creating their ePortfolios. Templates also provide consistent naming conventions that save you time when reviewing or grading their ePortfolios. Students can still customize and change the look and feel of their ePortfolios to personalize them. We have found that using a course-specific Aportfolio template also reduces frustration with the design process.
The following tutorial demonstrates how to designate an Aportfolio you have already created as a course template. If you need assistance in initiating an Aportfolio that you would like to use as a course template, view this tutorial first!
Before creating an Aportfolio template for your class, consider these structural questions:
What would you like the main navigation headings to be called? These are the titles in the navigation bar, and they typically correspond to the titles of assignments or activities in the course. Navigation titles can also have subheadings that appear as drop-down menus beneath the main titles.
What content do you expect your students to add to their Aportfolio? As you set up the pages in the Aportfolio, it will be helpful to consider adding page formatting or headings within the page that accommodate the type of materials they will add
Do you want to include prompts within the pages to guide your students on what to add or write? If so, make sure to include the prompts before saving it as a template.
Step 1
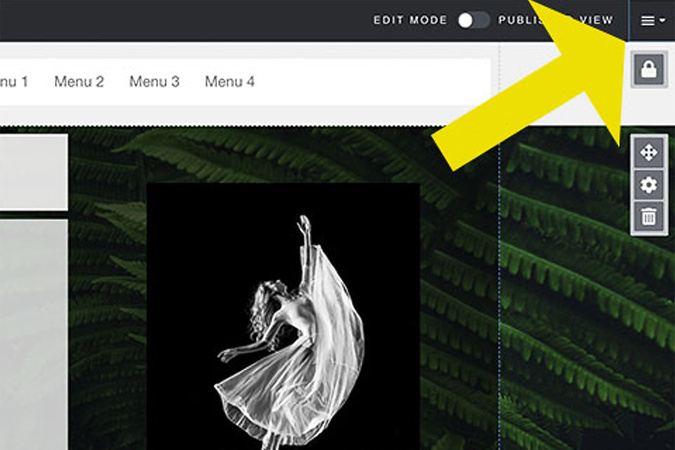
Once you have created and finalized the Aportfolio that you wish to set up as a course template, select the hamburger icon in the top right corner within the Aportfolio you have created.
Step 2
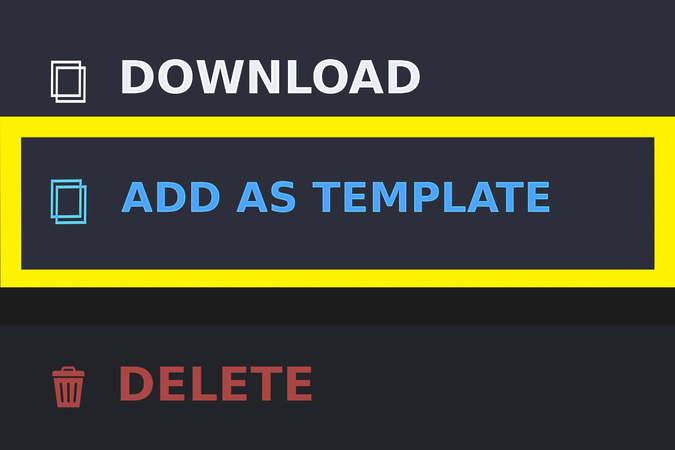
Select Add as Template from the drop-down menu.
Step 3
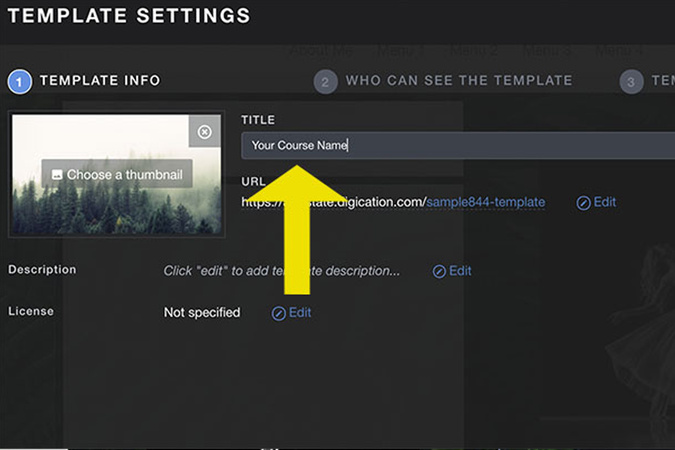
On this page, you can edit the name of your course template. It is recommended that you include the course name in the template title so it is clear to students that the template is for your class.
Step 4
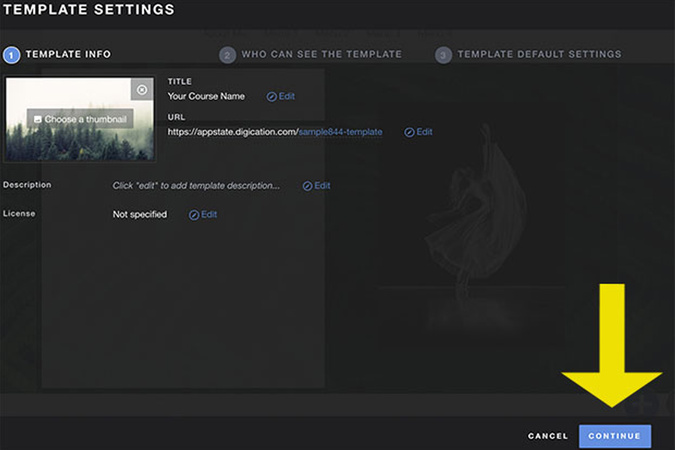
Next, click the blue Continue in the bottom right-hand corner of your screen.
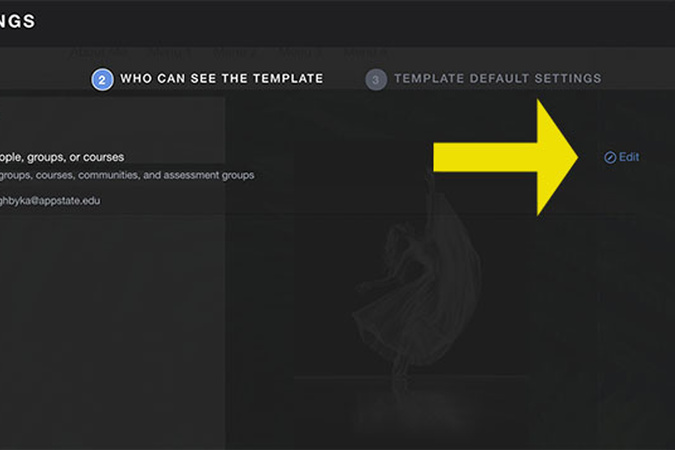
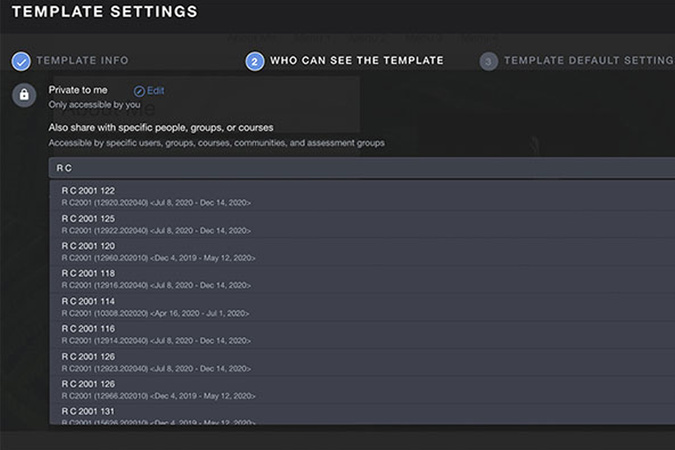
Step 5
Click Edit next to "Also Share With Specific People, Groups, or Courses". In the search box, type the course that will have access to the template. (example: UCO 1200 102 or R C 1000 130) Begin typing in the course name and number. Once it shows up, select it. Be sure to leave the private setting to me at the top.
Step 6
Once you have selected the course(s) you want to share the template with, they will appear under the search bar, as such.
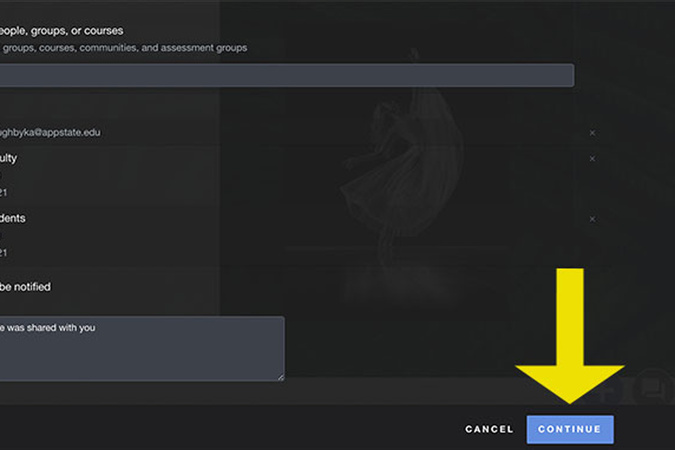
Step 7
Click the blue Continue button in the bottom-right corner once you have shared the template with the correct courses.
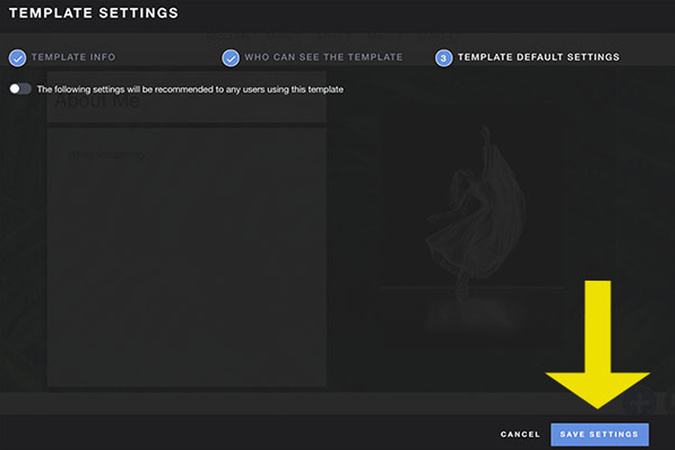
Step 8
Do not change the settings on this page. Continue by clicking the blue Save Settings button in the bottom right-hand corner.

Step 9
Once your template has been saved, you will be able to see it in your Aportfolio Library. When students go to create a new portfolio, the course template will appear among all templates. Be sure your students select the template specifically created for your course. Only the students in your course will be able to see this template.
Digication Login
Creating a well designed portfolio is a must. Use Digication to log in to Aportfolio and manage your ePortfolio. Alumni may sign in at appstate.digication.com.