This is the first step for initiating your Aportfolio. We will cover naming your Aportfolio, selecting a template and adding permissions.

Step 1
To create a new eportfolio, click the create button on your homepage.
*If this is your first time signing onto Aportfolio, you may need to accept the Aportfolio Terms of Use
Step 2
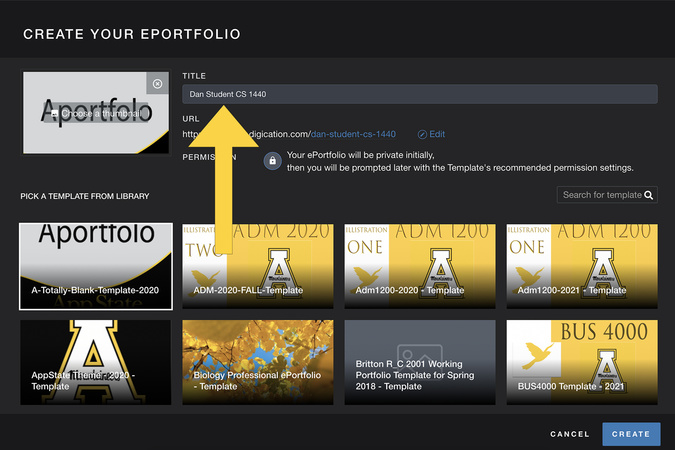
You will need to give your eportfolio a unique title. If you are using Aportfolio for a class, title your eportfolio with your name and a portion of the course title can help your professor distinguish between student ePortfolios.

Step 3
You will now need to choose a template. Ask your instructor if they have created a template specifically for the course. If your course has a template, you can locate and select it here. Note that templates are listed alphabetically. If your course does not require a specific template, then select the "Totally Blank Template" to create your eportfolio from scratch.
Step 4
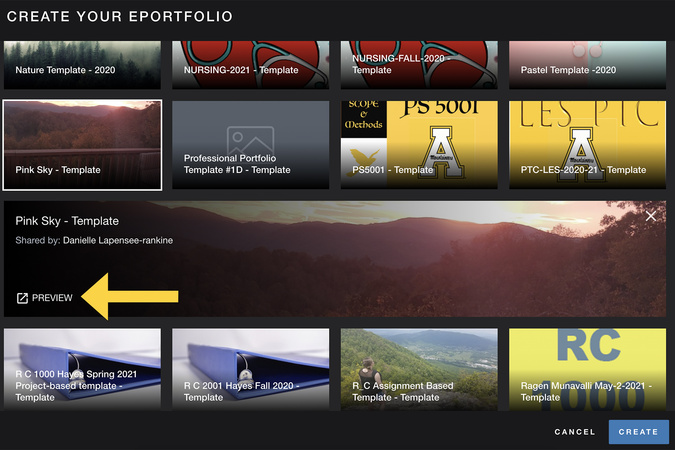
Once you have selected a template, you can preview it.

Step 5
When you are done, click the X.

Step 6
Once you have selected your template, click Create. PLEASE SEE OUR "ADDING CONTENT" TUTORIALS for guidance on creating the navigation menu and adding materials to your eportfolio.

Step 7
This is the landing page of your eportfolio. The navigation menu, outlined in yellow, is used to organize, name, and add pages to your eportfolio.

Step 8
To edit the navigation menu, click on the white space to the right of your menu items. Then click the lock icon.

Step 9
Hover over the menu, and a suite of editing icons will pop up. To close the Navigation editing, click off the navigation section.

Step 10
You are currently seeing the “Home” page. Pages are made up of slides and content. Similar to PowerPoint, you have a blank slide on which you add your text, images, etc. The section outlined in yellow here is called the “slide content area.” This is where you will place text and other content, such as images or PDFs.

Step 11
To add content, click on the blue plus button.

Step 12
Behind the slide content and to the side of the content, you can see your slide background.

Step 13
To change the background of your slide, click the gear icon on the right side of the page. Backgrounds can include color or pictures.
*Slides stack vertically, and you can add numerous slides to a page. For simplicity’s sake, we suggest no more than two slides per page.
Digication Login
Creating a well designed portfolio is a must. Use Digication to log in to Aportfolio and manage your ePortfolio. Alumni may sign in at appstate.digication.com.