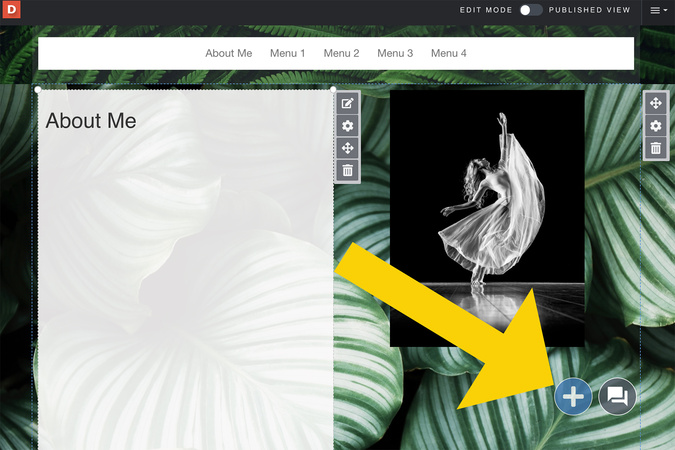
Step 1
First, click on the blue plus button.
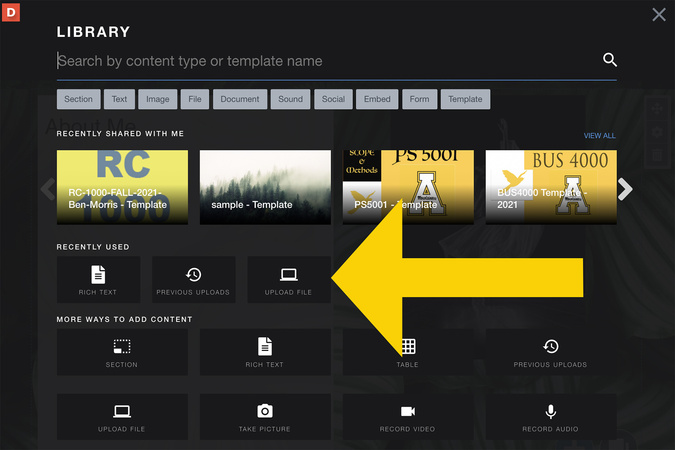
Step 2
Click on the upload file.
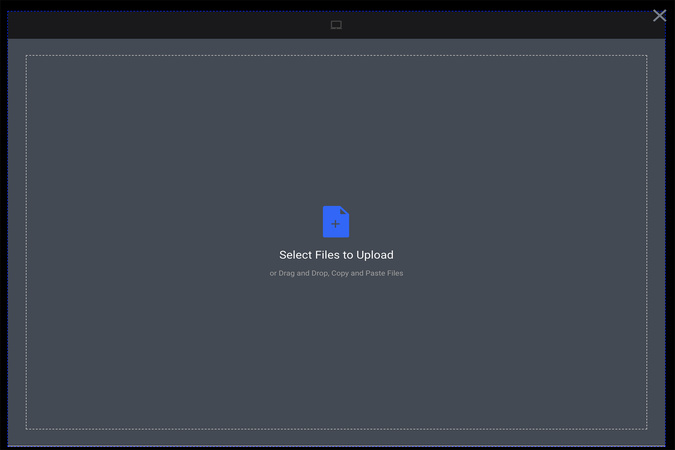
Step 3
You can upload a picture by either dragging and dropping your file, or clicking “select files to upload.”
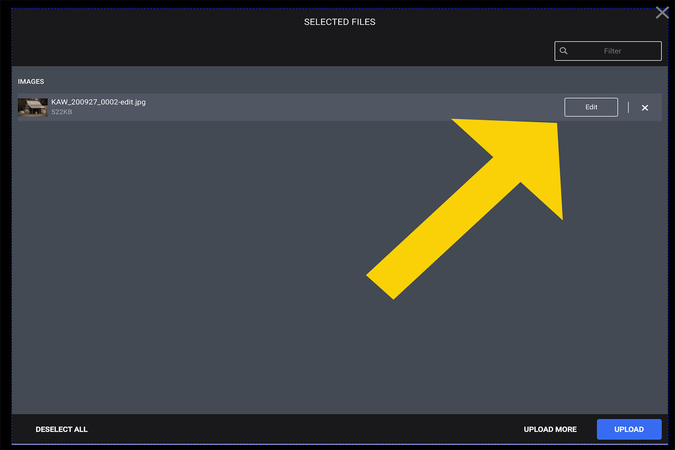
Step 4
Before uploading your file, click Edit to crop your image, make the image into a circle or rotate the image.

Step 5
The crop, rotate, and circle options are located on the top left side of your upload screen.
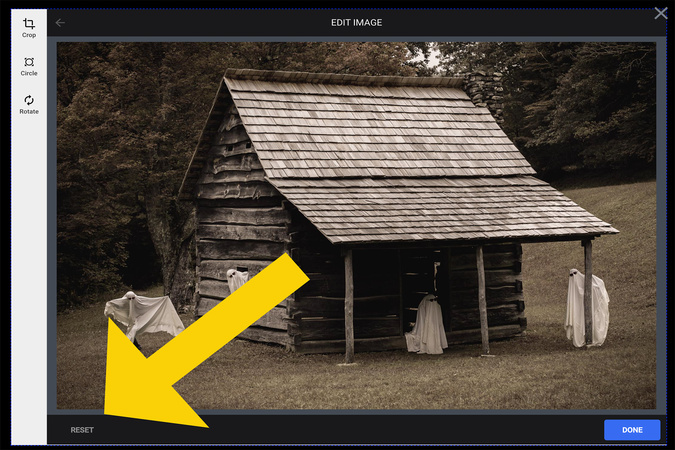
Step 6
If you want to undo the changes on your picture, select “reset” on the bottom left of the screen.
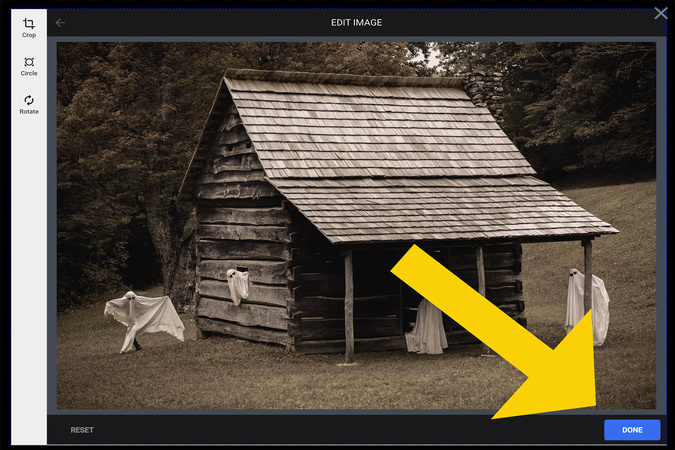
Step 7
Once you are done editing the image, click “done” on the bottom right of the screen.
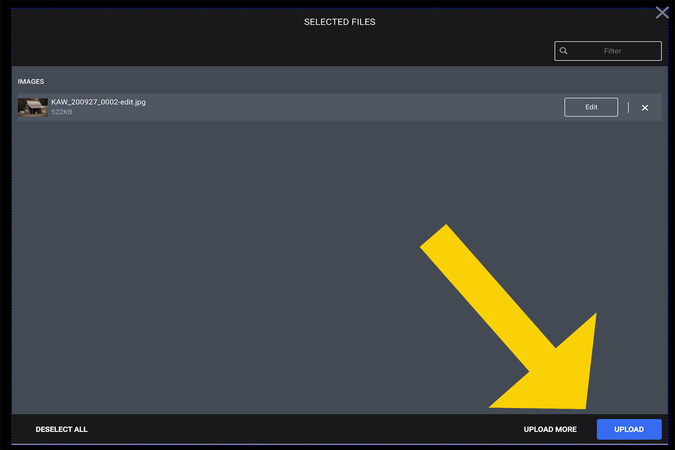
Step 8
Then click “upload.”
Image
Digication Login
Creating a well designed portfolio is a must. Use Digication to log in to Aportfolio and manage your ePortfolio. Alumni may sign in at appstate.digication.com.
Image