This tutorial covers the basics of creating and editing a gallery. A gallery is a series of scrollable images/files that are like a slideshow for your Aportfolio. Your gallery can contain images (.png, jpg), videos (.mov or mp4), or .pdf file types.
There are three sections to this tutorial:
- Creating an Image Gallery
- Editing your Image Gallery
- Rearranging and Deleting Images from your gallery
Step 1
To add a gallery, you must first upload a single image to a page in your ePortfolio

Step 2
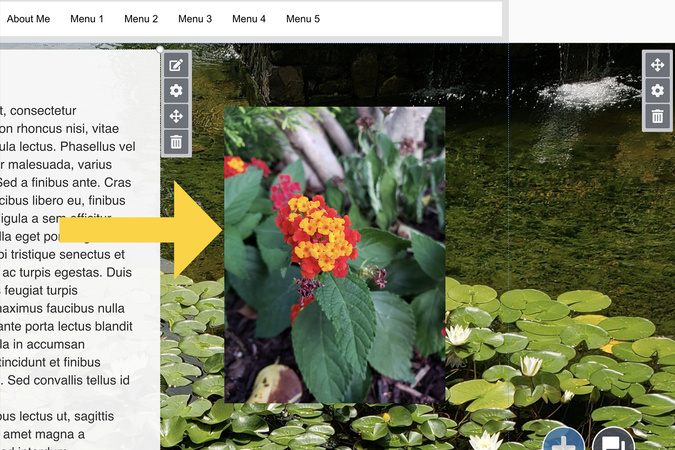
Once the image is on your page, hover over the image and click on the pencil and box icon.
Step 3
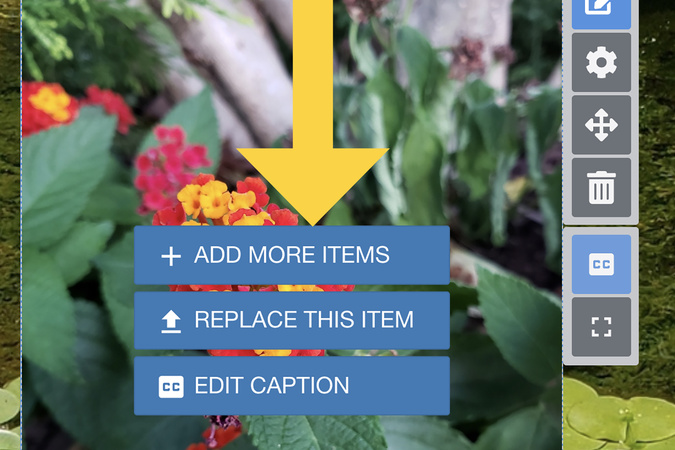
Click “Add more items.” Note: you can add the following file types to your gallery: .png, .jpg, .pdf,. mp4

Step 4
Click Upload File

Step 5
You can upload numerous pictures at the same time by either dragging and dropping your files, or clicking “Select Files to Upload”. Then click Upload.
Editing an Image Gallery
Step 1
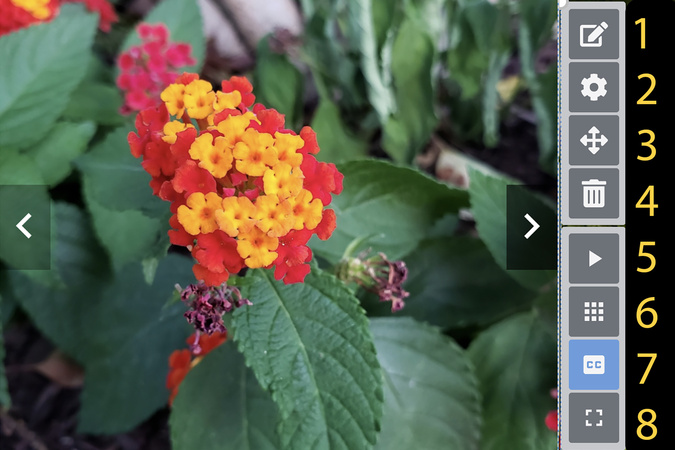
- Edit Icon: Add additional photos to your gallery
- Settings icon: Edit the look and functionality of your gallery
- Move icon: Move your gallery around on your page
- Delete icon: Delete your entire gallery
- Play icon: Begin an auto slideshow
- Grid View icon: show all photos on a grid to rearrange and delete photos in your gallery
- Caption icon: Show or hide captions (click here to learn how to add captions)
- Full-screen icon: Show all photos on a grid full-screen
Step 2
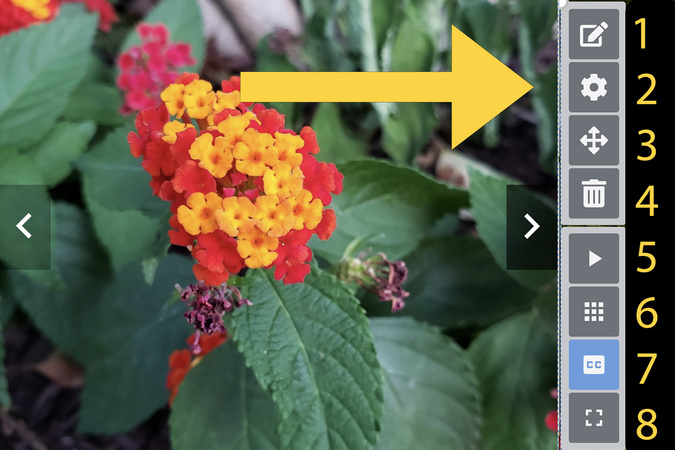
To edit the look and functionality of your Photo Gallery, click the Settings Menu
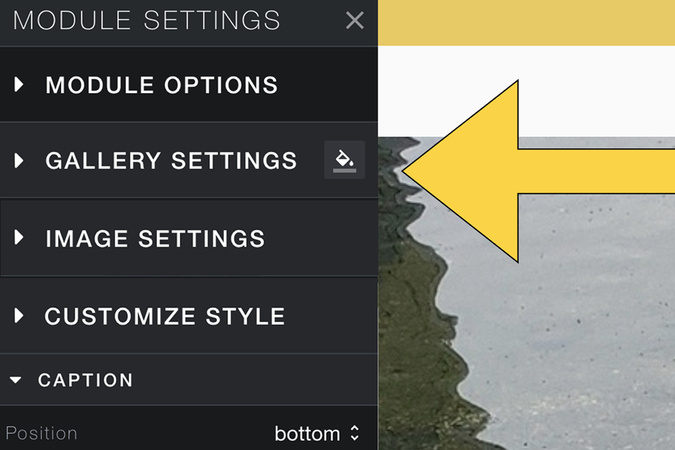
Step 3
On the left side of your screen, you can edit the gallery, image, and caption settings.
Rearranging and Deleting Images from Your Gallery

Step 1
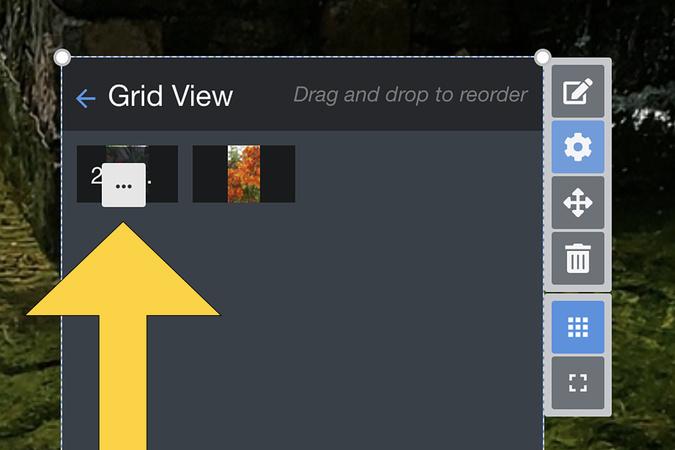
First, hover over your gallery and click on the grid view or full-screen view, then grid view.
Step 2
First, hover over your gallery and click on the grid view or full-screen view, then grid view.

Step 3
Finally, click delete.
Digication Login
Creating a well designed portfolio is a must. Use Digication to log in to Aportfolio and manage your ePortfolio. Alumni may sign in at appstate.digication.com.